
How to Check a Photo Book PDF Before Printing
Before printing a photo book PDF, open the downloaded file and check its page dimensions, page order, photos, captions, and margins. Then compare the file with your printer's specifications. A book that looks lovely in the editor still deserves one careful review after export.
For a family keepsake or a travel album, small things matter: a name beneath the right photograph, a face safely away from the binding, and text you can comfortably read on paper.
This checklist helps you review the finished file, whether you're making a home print or preparing to discuss it with a print service.
1. Start with the printer's requirements
Before arranging a whole book around a particular format, find out what the printer accepts. Ask for:
- The required PDF dimensions, including any extra area for trimming.
- Individual pages or two-page spreads.
- Page-count requirements and how blank pages are handled.
- Cover-file and binding requirements.
- Image-resolution and colour requirements.
- Bleed, safe margins, and whether printer marks are wanted.
These are specific to the service and book format. For example, Blurb's PDF checklist requires individual pages and dimensions that match its specification tool; it also has its own cover and colour rules. Those are Blurb's requirements, not a universal specification. Blurb: PDF to Book specifications and checklist
PhotoBook.page exports PDFs at your chosen page dimensions. That doesn't establish that the file meets a particular printer's full submission requirements. Compare the actual exported file with the specifications before ordering.
2. Check PDF page size, not just the paper setting
A PDF's page dimensions and the paper selected in a print dialog are separate things. Choosing A4 or US Letter paper doesn't change the original book design into that format.
Open the file's document properties or page-size information in your PDF viewer. Compare the dimensions with the intended book and the printer's requirements.
For a home proof, also look at the print preview. Adobe Acrobat's Fit option scales a page to the printable area. Actual size prints without scaling, but portions that don't fit can be cropped. Pick deliberately rather than assuming the default preserves your book size. Adobe: Adjust page size for printing
A scaled proof can help you check the story and page order. To judge caption size, use a proof at the intended physical size on suitable paper, and check the preview for clipping.
3. Confirm individual pages or spreads
A spread places two facing book pages on one PDF page. It can be useful for reviewing a pair together, but a printer may require each book page separately.
In PhotoBook.page, the Export two-page spreads option controls this choice. Check it before exporting, then open the PDF to confirm the result.
The PDF page count can differ from the number of book pages when spreads are combined. Don't assume a lower PDF count means a page has disappeared: look at the contents of each PDF page.
As a concrete example, our fictional four-page sample book produced three PDF pages with the interior pair combined. With individual-page export selected, its PDF contained four pages. This was a local sample check, not a printer acceptance test.
4. Review the photos at their placed size
A photograph's useful print resolution depends on its pixel dimensions, the size it occupies on the page, and its crop. A large image file isn't automatically sharp enough for every placement.
Select a placed photo in PhotoBook.page and look at Effective print resolution in Photo tools. The number changes with the frame size and crop zoom. If it is low, try a smaller frame, less crop zoom, or a higher-resolution original.
For image resolution, pixels per inch (PPI) is the precise term; PhotoBook.page labels its placement estimate DPI. Adobe describes 300 PPI as a typical print target, with the appropriate value depending on the output device. Treat that as a useful aim and follow the printer's requirement. Adobe: Image size, resolution, and resampling
In PhotoBook.page's review screen, the low-resolution placement check flags photos below 150 DPI. A photo above that warning threshold isn't necessarily at 300 DPI, so inspect important placements individually too. A high number also doesn't prove the original photograph is in focus.
5. Read every caption in the exported PDF
Check the words against the photographs, not just for spelling. Look for:
- Names, dates, and places attached to the correct image.
- Missing lines or text near a page edge.
- Long captions that have become too small to read comfortably.
- Repeated text or captions left over from another photograph.
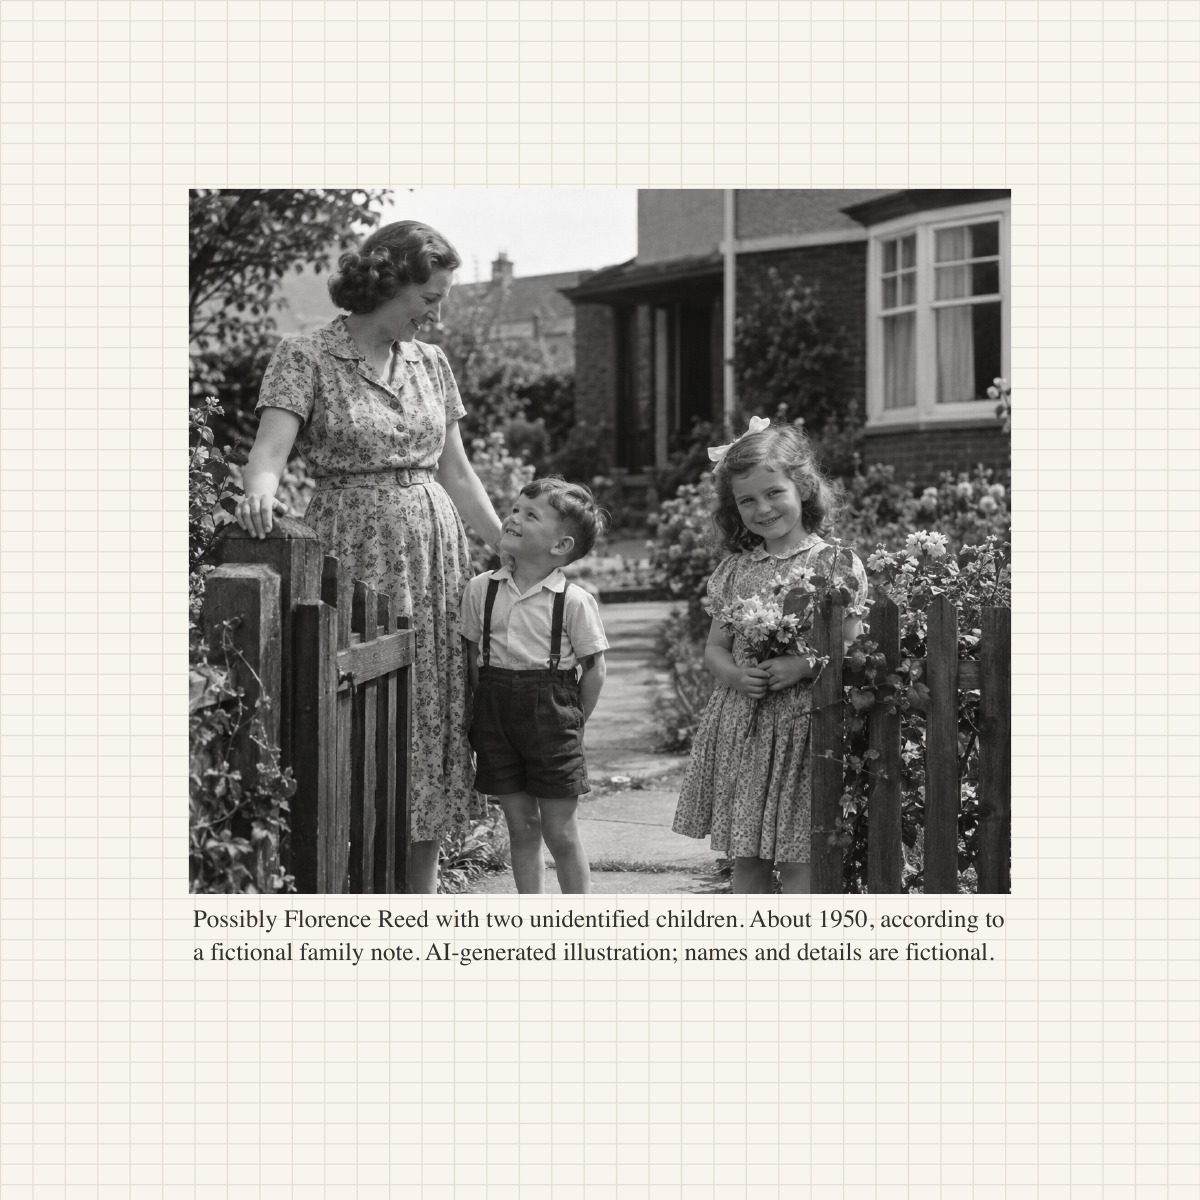
- Uncertain identifications that have accidentally become definite statements.
PhotoBook.page lets you edit captions and layouts. Make corrections in the editable book, then export and review a new PDF. Keep the version you're approving clearly identified so you don't send an older export by mistake.
For older pictures with missing details, use the examples in how to caption old family photos. For layout and wording options, see making a photo book with text.
6. Check the cover, final page, and binding area
Read the PDF from the first page to the last. Check the cover title, photo crops, empty frames, intentional blank pages, and the ending of the book.
Pay particular attention to text and faces near the inside edge where pages meet. Leave room according to your chosen printer's binding and margin specifications.
Bleed is extra artwork beyond the intended cut edge. A safe margin keeps important content away from that cut. Neither should be guessed from the appearance of a screen preview. Use the printer's actual dimensions and requirements; a margin setting alone doesn't demonstrate compliance with them.
PhotoBook.page's Review & export screen highlights empty photo frames and low-resolution placements and reminds you to check gutter and trim. Use those prompts, then inspect the downloaded PDF itself.
7. Save the editable draft as well as the PDF
A PDF is useful for reviewing and sharing the finished pages. Keep a portable draft file too, so you can return to the editable captions and layouts.
In PhotoBook.page, use Save draft before closing the editor. Reopen that file with Open draft file when you need changes, then produce a new PDF. Photos are processed locally in your browser.
Keep the originals and the final files somewhere you can find them. A simple naming convention such as “Family-Book-proof-01.pdf” and “Family-Book-approved.pdf” helps distinguish a working proof from the version you intend to use.
A final photo book PDF checklist
| Check | Ready when… |
|---|---|
| Printer specifications | You've compared the file with the chosen service's requirements. |
| Page dimensions | The PDF has the intended dimensions, including any required bleed. |
| Page format and order | Single pages or spreads match the requirement, and all content is present. |
| Photos | Important details remain in the crops, and placement resolution is suitable. |
| Captions | The wording is correct, complete, and readable at the intended size. |
| Cover and final page | Titles, crops, and any blank areas are intentional. |
| Margins and binding | Important text and faces have the required clearance. |
| Saved versions | You have the editable draft and the clearly identified PDF to use. |
When possible, print a representative page or request the service's proof option before committing to the finished book. Include a detailed photograph and a long caption in that check. A screen review can't confirm the appearance of the paper, ink, or binding.
Start your photo book, edit the captions and layouts, and save both a portable draft and a PDF. Give the downloaded pages one final read before turning them into a keepsake.